
Anatomy of A Christmas Card
I have a "thing" for Christmas cards. I love exercising my creative muscle by doing something unusual or fun with our family pictures. I think about ideas all the time (no exaggeration) and usually have concepts backed up for months, if not years, before actually executing them.
I know this is ridiculous.
Thankfully, Billy accepts and enables this obsession. In fact, every year, it takes a Billy and a small group of similarly minded creative people to turn my ideas into reality. This year's card was no different.
It started with Billy saying it would be fun to have our heads sticking through frames in a living room wall.
"Why, yes!" I thought. Fun. Different. And "doable."
Of course, I couldn't leave well enough alone and decided the wall must be Christmas themed and we had to make sure no one thought we were just using photoshop to catch the images. So here's how it played out.


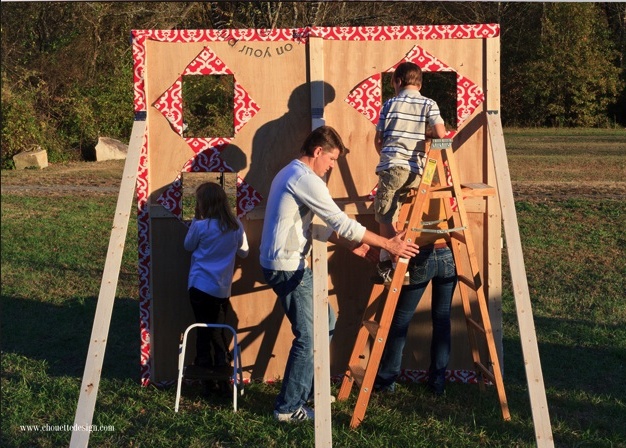
Billy buys plywood, 2x4's, hinges, and nails and starts the assembly process.Since we weren't going to be able to fit the full wall in the car, he had to assemble it in sections so we could take it apart and then pull it together when we were on location.Next, we figured out where the frames should be placed. and Billy cut out the appropriately sized holes. I'm glad one of us went to architecture school!


I decided to use fabric rather than wallpaper for the covering since it was cheaper and easier. The trick was making sure the overlapping fabric lined up between the boards so when the two sides were put together, there wouldn't be a visible seam.Next, I cut out the spots for the frames.All the fabric was secured using a staple gun.Billy used screws to secure the frames. The frames came from Goodwill, and I spray painted them in red and green. You can see the fabric overlap in the image below.


We were ready to move to our location! My image was to be in the middle of a huge field as part of the "reveal." The most practical location was down by the Chattahoochee River, a mile from our home.We used a ladder and a step stool to put everyone in their proper places. We also used black fabric to hang behind the open frames so our appearance would more closely resemble a portrait. You can see one of our fabric props hanging from the ladder.At this point, our friend Chris worked his magic with a camera and lights. He shot individual images.

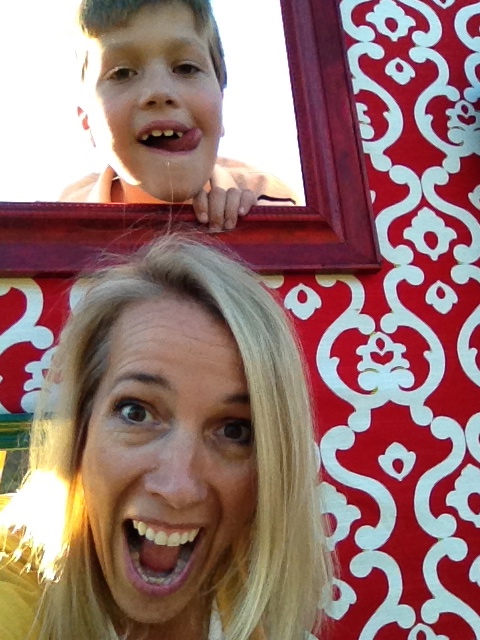

And group images.At this point, the kids were OVER the process (getting cold and a little hangry), so we were bringing out our best silly games!After the shoot, we had to recreate the scene and get the dog to cooperate. Treats came in handy.

Finally, we sent the card off to Lisa at Chouette Design for her to work her magic. I've worked with Chouette for 10 years. and she has an UNBELIEVABLE way of taking any crazy idea and making it work. Her proof for the front:And the back:The set now lives in the garage. Let me know if you'd like to use it for your card -- I need the space back.
What's the most elaborate Christmas card you've ever made?
I'm looking for ideas!